
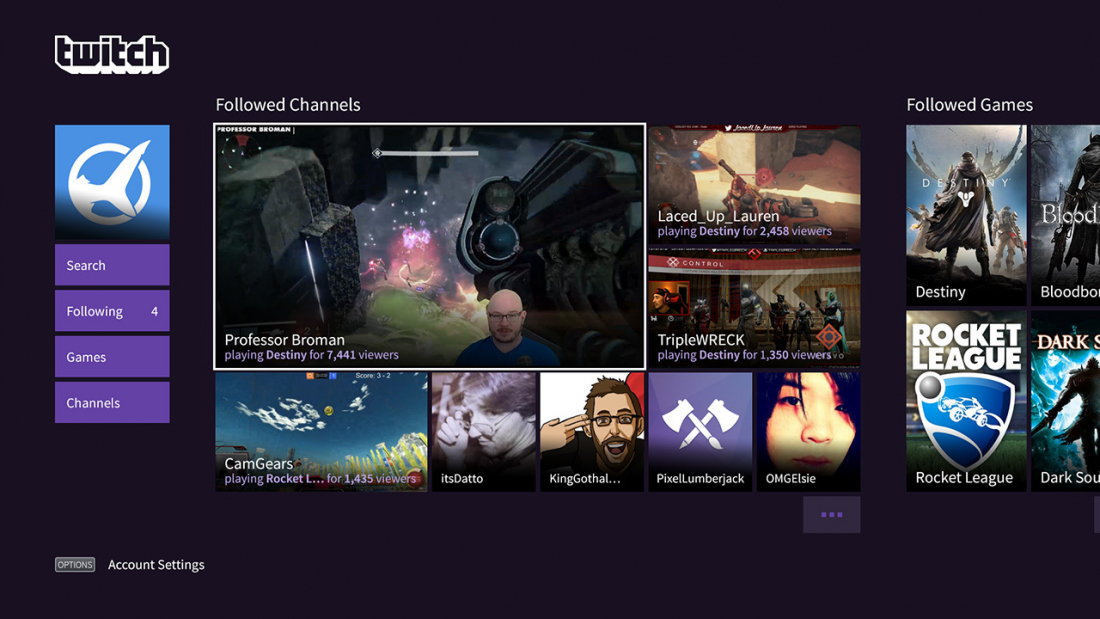
Twitch has evolved from a platform solely for video games to a vibrant community where content creators of all kinds come together to amuse and engage with viewers. No matter if you're a casual streamer, a professional gamer, or an artist showcasing your talents, the ability to efficiently record and archive your streams can be essential for your development and impact in the streaming community. By perfecting the art of capturing your Twitch content, you not only preserve your hard work but also generate opportunities to connect with fans long after the live broadcast concludes.
In this comprehensive guide, we will explore various methods and tools for recording, downloading, and archiving Twitch streams, VODs, clips, and highlights across various devices and platforms. From understanding the best way to save your livestreams to advanced techniques like automated recording processes and bulk download options, this guide aims to equip you with the knowledge necessary to preserve and share your content effectively. Whether you're using a Mac or Windows, we’ll cover everything from video capture techniques to storage and organization strategies, ensuring that your Twitch journey remains accessible for years to come.
Recording Twitch Broadcasts
Capturing Twitch broadcasts is crucial for content creators seeking to archive and disseminate their gameplay. With multiple tools and methods at hand, streamers can capture their streams in excellent quality. Both dedicated software and web-based tools provide options for capturing, ensuring versatility depending on your configuration. Whether using a powerful PC or a gaming laptop, having the right tools can enhance your recording quality, seamlessly recording both sound and footage seamlessly.
For Mac users, applications like OBS Studio and ScreenFlow offer robust features that allow for high-quality recording. OBS Studio is particularly popular due to its free availability and customizable settings. Windows users have access to equivalent tools, including Streamlabs and Action, which provide easy-to-use interfaces and advanced recording capabilities. Whichever platform you are on, be sure to adjust your video resolution and bitrate settings for ideal video quality.
When recording on mobile devices, a variety of apps are accessible that facilitate easy capture of streams. These mobile recording apps often allow for immediate access to gameplay and work seamlessly with your current Twitch account. No matter the platform, ensuring a stable internet connection and adequate memory is essential for a smooth capturing experience. By learning these strategies, you can effectively archive your Twitch streams for future use and engage your audience more deeply.
Getting and Preserving VODs
To download Twitch VODs, you initially need to ensure that your profile is configured for capturing streams. Twitch allows streamers to keep their broadcasts for a limited time, but to archive them forever, you must activate VOD storage in your Twitch settings. Once your streams are stored as VODs, you can conveniently download them using various techniques and resources provided across different platforms.
For PC users, there are multiple desktop programs designed to help fetch Twitch VODs quickly and smoothly. Common programs often feature options for bulk downloads, enabling you to save various VODs at the same time. Additionally, some browser add-ons can facilitate the downloading process straight from the Twitch site, allowing you to grab your desired content with little hassle.
If you're on a Mac, various software applications provide seamless VOD retrieval capabilities. A lot of these apps focus on high-quality resolution and audio to ensure that your archived content keeps its original integrity. It’s also helpful to keep organizational methods in place for your downloaded VODs, such as specific folders or labeling conventions, to make future access and edits simple.
Twitch Clip Management
Managing your Twitch clips efficiently is crucial for maintaining and displaying the best moments from your streams. Twitch allows creators to capture and share brief segments of their streams, making it easier to engage with their viewers. To start, ensure that you familiarize yourself with the video creation tools on the platform. These features let you select segments up to 60 seconds long, which can be shared on various platforms or embedded on different platforms. Keeping your clips organized will assist you highlight key moments and preserve your channel’s overall professionalism.
To save Twitch clips, consider using a combination of native features and external tools. Twitch's site allows you to conveniently download your clips, but for bulk saving or auto downloading, explore third-party software that provide more comprehensive clip management features. Some tools enable you to capture multiple clips at once, simplifying your workflow. Creating an efficient system for labeling and classifying clips will ease the retrieval process when you need to reference them for later or highlight reels.
Lastly, think about the significance of storage and file type when managing your clips. Make sure that you store your clips in a premium format that preserves audio and video integrity. Implement a backup plan to avoid losing your clips, and be mindful to resolution and bitrate settings when exporting them. This will help bolster your channel's visual quality, making your content more attractive to viewers and aiding in channel growth strategies. By efficiently managing your Twitch clips, you can maintain your content fresh and compelling for both returning viewers.
Optimal Strategies for Preserving
To successfully store your Twitch broadcasts, it's essential to establish a methodical method to storage and cataloging. Start by organizing your captured content based on category, such as VODs, clips, and highlights. This will ease it simpler to access specific footage when needed. Record Twitch VODs on your storage device, naming them distinctly with dates and descriptions to make certain that you can navigate through your archive without hassle. Regularly backing up this content to cloud storage services can provide additional safeguarding against data loss.
Next, pay close attention to the audio and video quality of your captures. Opt for HD settings and appropriate bitrate options to keep the sharpness of your content. Many tools allow you to adjust these settings, so spend the time to get acquainted yourself with them and select the most suitable options for your streams. Achieving high-quality recordings not only boosts the viewing experience but also heightens the chances of your content being shared and enjoyed by your audience.
In conclusion, keep legal considerations in mind while storing your content. Get familiar yourself with fair use guidelines and copyright laws, as these may affect how you can utilize and share your recorded streams. Educating yourself on these matters will help you avoid potential pitfalls and ensure that your storage practices are compliant. By following these best practices for archiving, you can safeguard your Twitch content efficiently for future access and growth.
Legal and Ethical Aspects
When record and saving Twitch.tv broadcasts, it is essential to be aware of the legalities surrounding content recording. Twitch’s terms of service typically permit users to save plus save their personal streams, yet creators should be cognizant of intellectual property laws that protect the content created by third parties. Using protected music, clips, or any external material lacking permission could lead to sanctions against a channel or other legal consequences. Always have the legal right to incorporate any material within your captures.
In addition to copyright concerns, ethical issues play a crucial role in media sharing. As a streamer, it’s important to respect the privacy of fellow streamers and their audiences. Should you plan to record material from another streamer’s stream, it is wise to obtain their permission first. In doing so, fostering a considerate environment can contribute to a supportive community and avoid conflicts with other creators.
Finally, reflect on the future consequences of your recorded content. Archiving Twitch broadcasts and highlights can assist you build a library for future use, but make sure you are adhering with the platform's rules and fair use regulations. Engage with your audience transparently about how you use recorded content, and be mindful of ways to monetize that may emerge from your recordings. Effectively controlling and preserving your Twitch.tv content not just supports your growth as a content creator but also maintains the principles of the streaming community.